Streaming Lectures at TUW using OBS and YouTube Live
How I dealt with the sudden COVID-19 distance learning mandate at TU Wien in 2020.
During the summer term 2020, the first COVID-19 related shutdown of universities caught us a bit off-guard. I was teaching Distributed Systems Technologies at TU Wien and had to postpone the first lecture. It was unclear what the TUW standards for distance learning would be. The common practice at the time were recorded slidecasts, which I didn’t find to be very engaging. So we decided to instead stream our lectures at the dates we had scheduled to YouTube live and then provide recordings of them. Because the model was successful, and I’ve been asked a few times about the setup I used, here’s a short post about it.
Successfully streamed the first DST lecture @tuvienna @dsg_tuwien from home, and did a live demo of Murphy's Law: battery of microphone died, battery of camera died... Students were still engaged with the format, and I'm totally looking forward to the next lecture. 👨🏫😎 pic.twitter.com/8nXoBzPUPc
— Thomas Rausch (@thrauat) March 18, 2020
Video & Audio Setup
Hardware
I don’t use any special hardware:
- Laptop
- HD Webcam (Logitech C920)
- Cheap lavalier microphone (15 EUR on Amazon)
I used my Sony a6000 as a webcam at first (you can see it in the picture on Twitter), but the quality wasn’t that much better, so I went back to the webcam because it was more convenient.
Software
The only software I used was:
- OBS Studio
- LibreOffice Impress
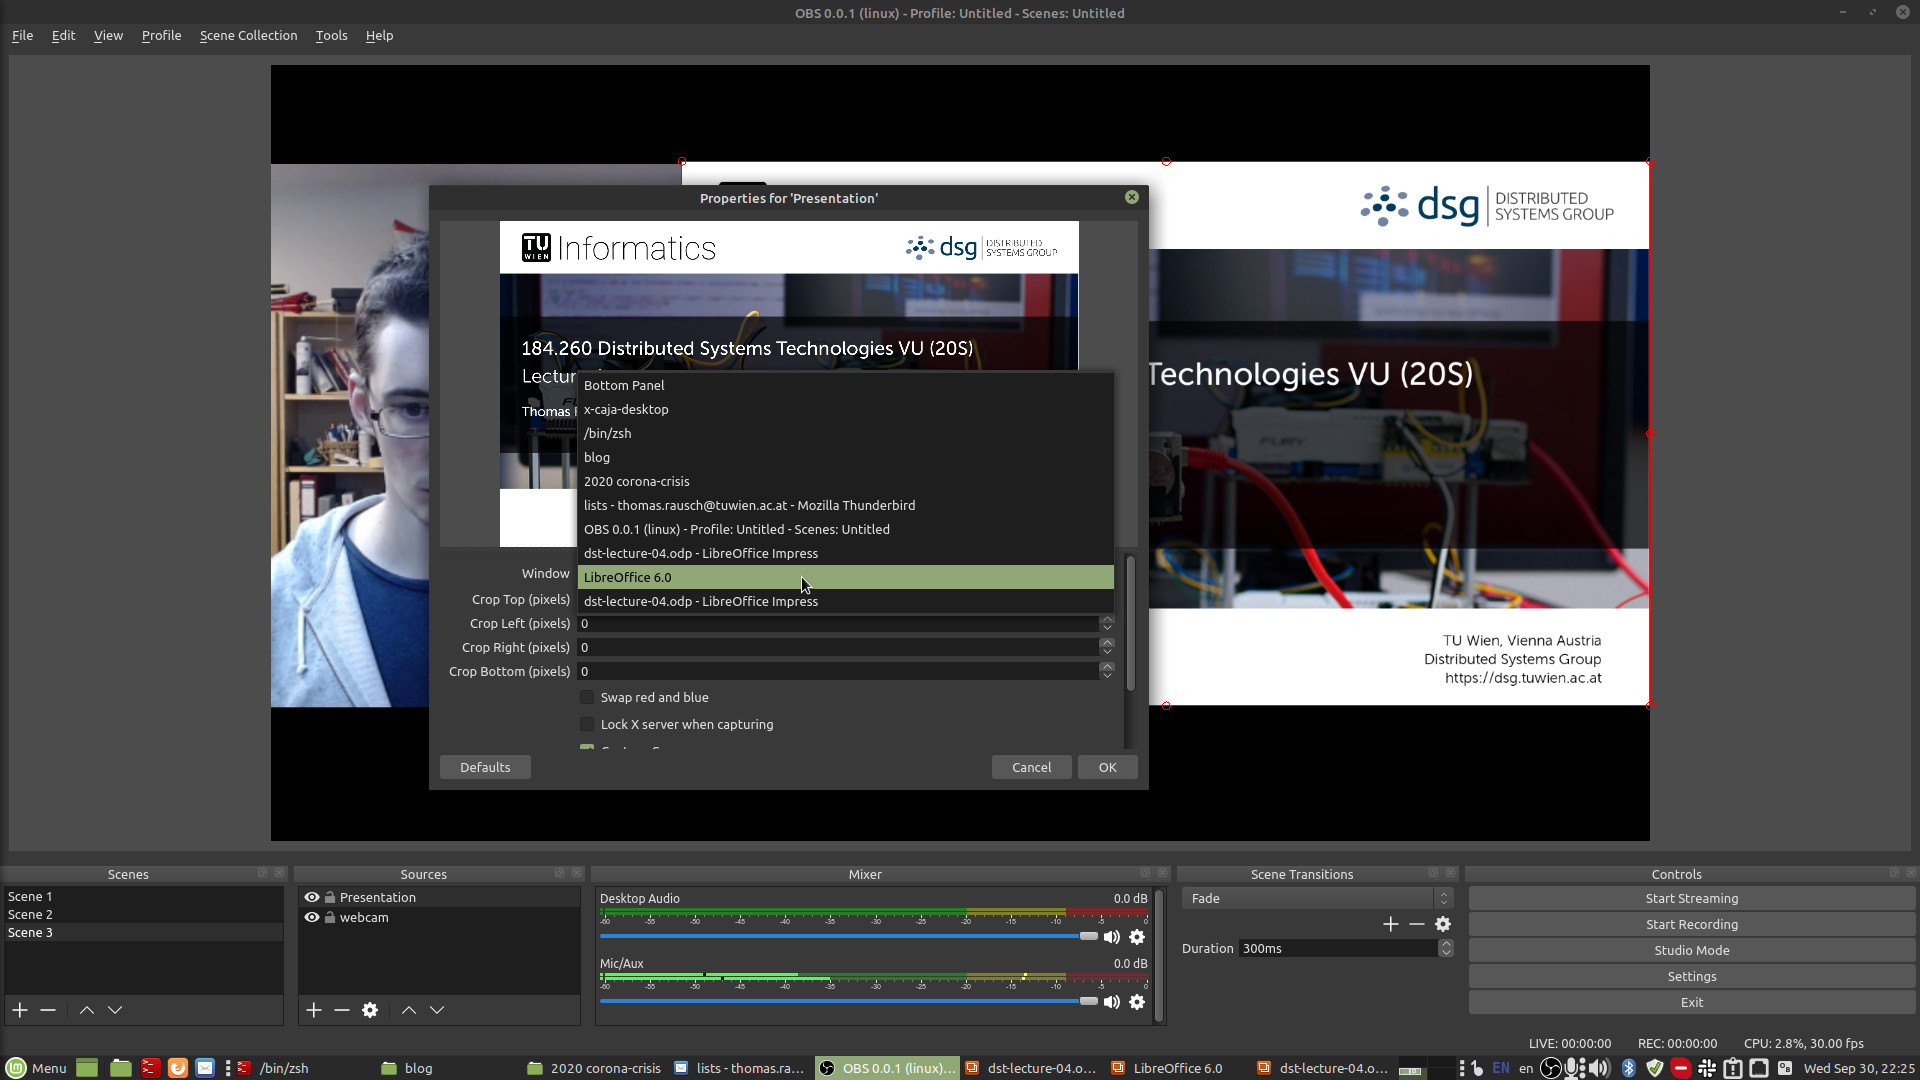
OBS Configuration
OBS main concept is a scene composed of sources. I needed to capture my LibreOffice full-screen presentation window, as well as my webcam. OBS also allows you to place static text and images in the scene (like the university logo and the course name).
Presentation
To capture the presentation window, I opened the LibreOffice presentation, entered presentation mode (F5), alt-tabbed into OBS, and then added a “Window Capture” source of the full-screen presentation window now running in the background. You could do it with a complete screen capture, but it didn’t work properly with my multi-monitor setup. When streaming, I simply switched backed to the presentation window and tried to give a natural presentation as I would in the lecture hall.
For me that also meant standing while streaming so the delivery would feel more natural to me.
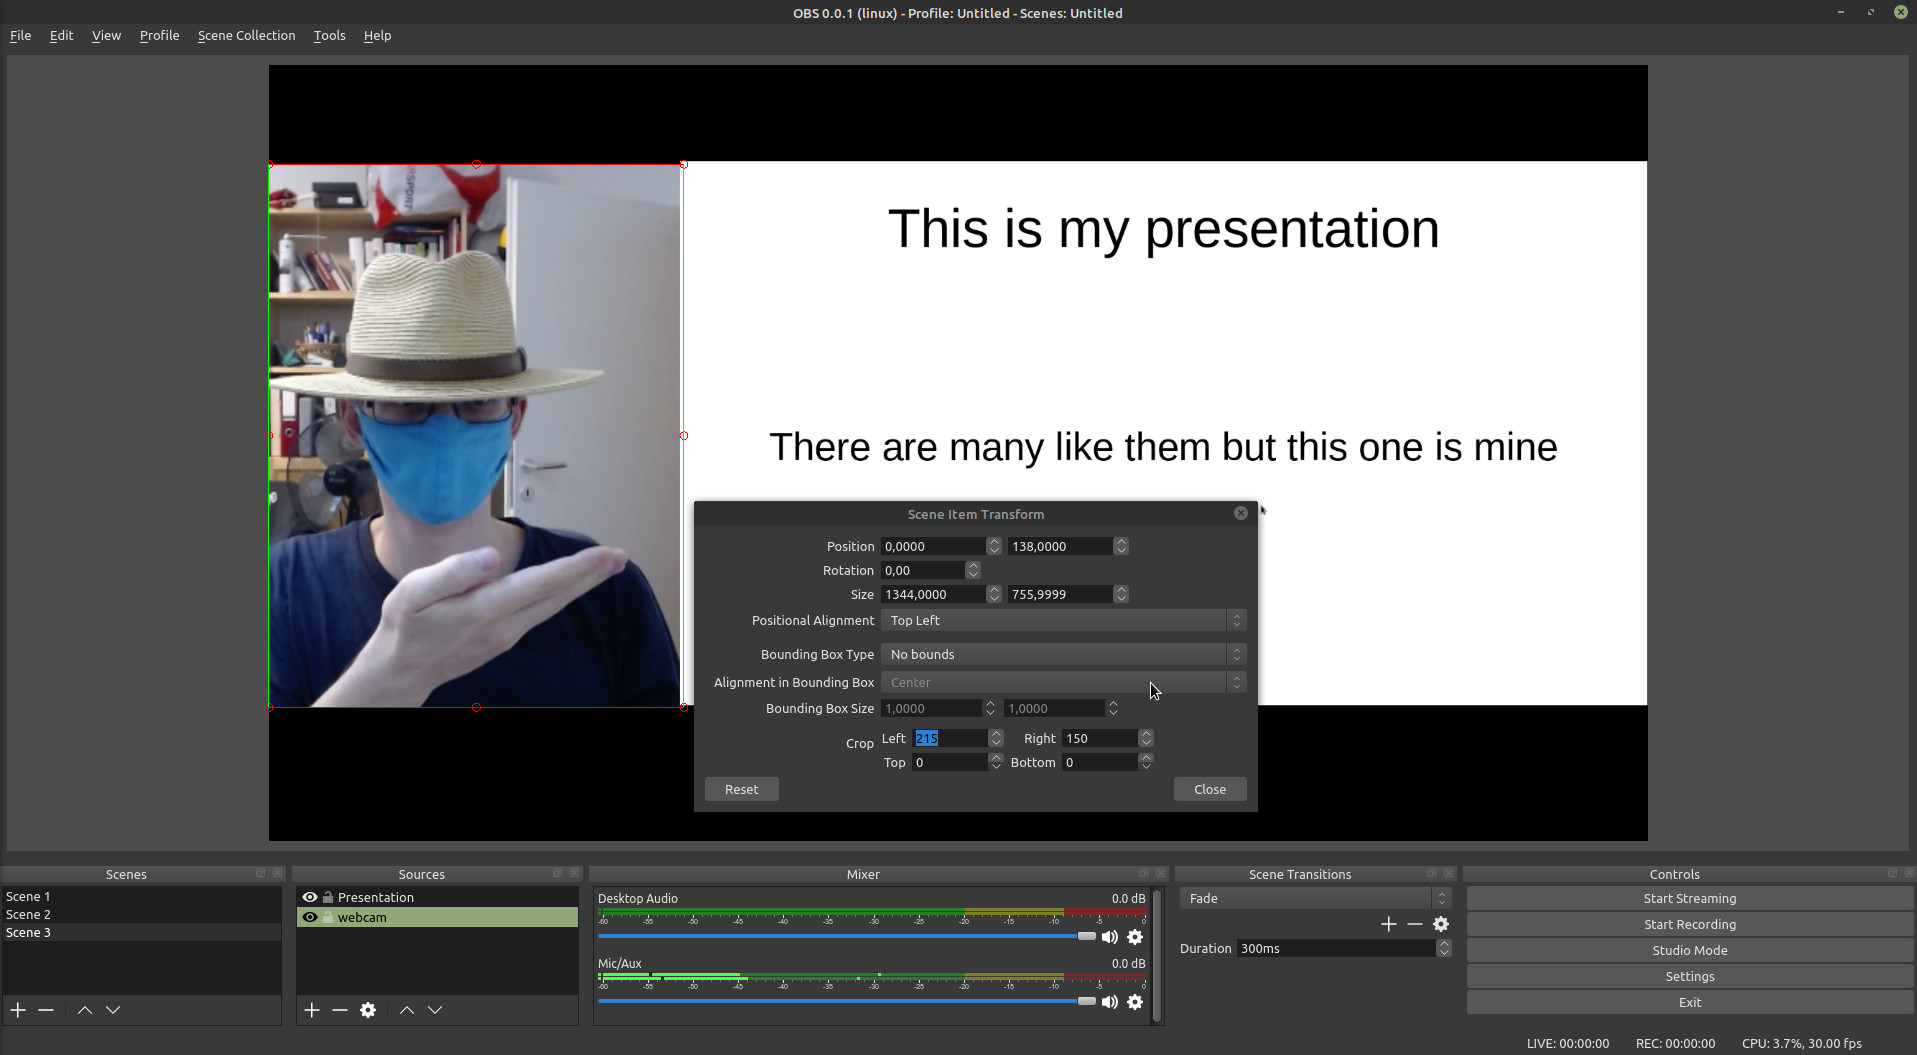
Webcam
I oriented my Webcam in a way that I appeared vertically next to the presentation. I got the idea from “goto; conference” recordings. Just create a new video capture source, place the source somewhere in the scene, right click and select “Transform > Edit Transform”. Then just crop and position until it nicely lines up with your presentation source.
Streaming
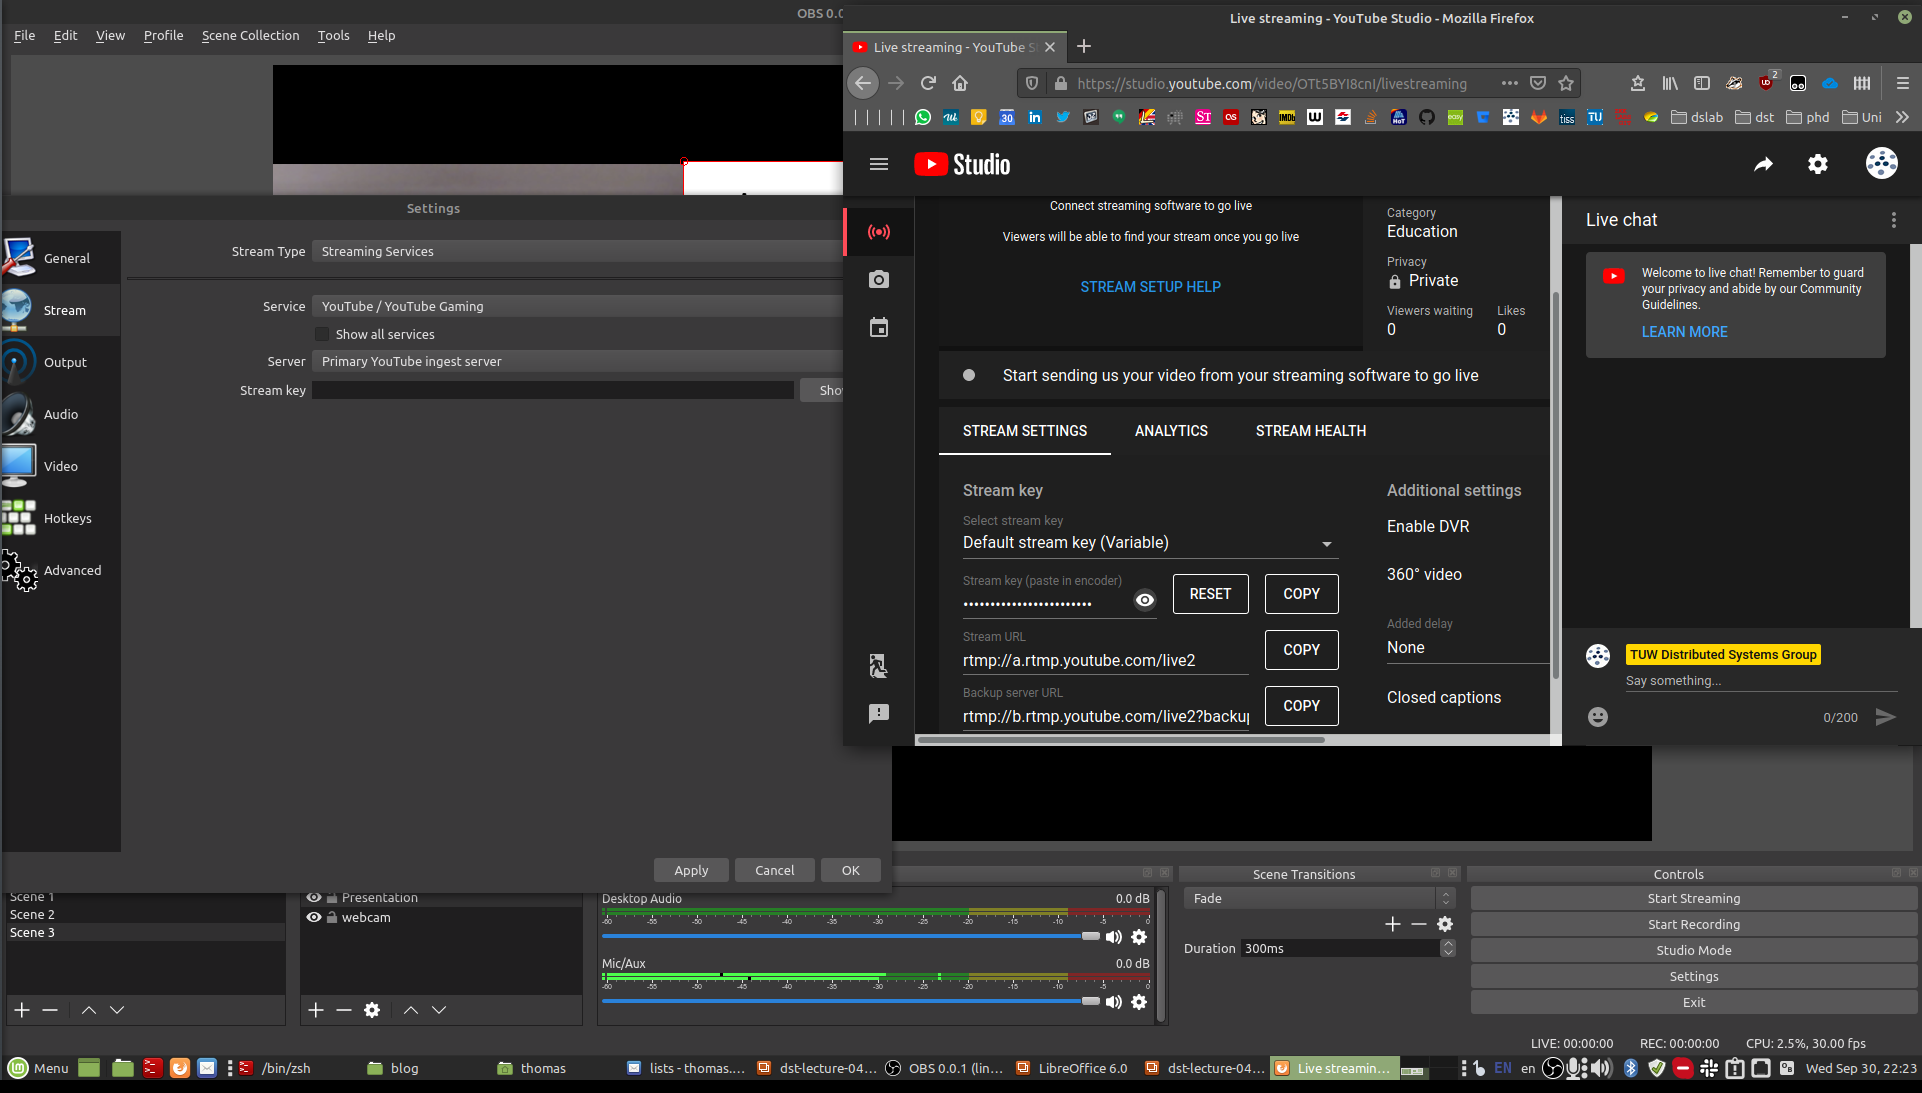
There are lots of tutorials on how to stream from OBS to YouTube Live, this one for example.
Basically, after activating the live stream feature in YouTube (takes 24 hours), you schedule a live stream in your YouTube Live studio, find the “Streaming Key”, which you then enter in your OBS configuration. When you press “start streaming” you should see the preview in YouTube studio. Once you are ready, you can press “Go Live” in YouTube.
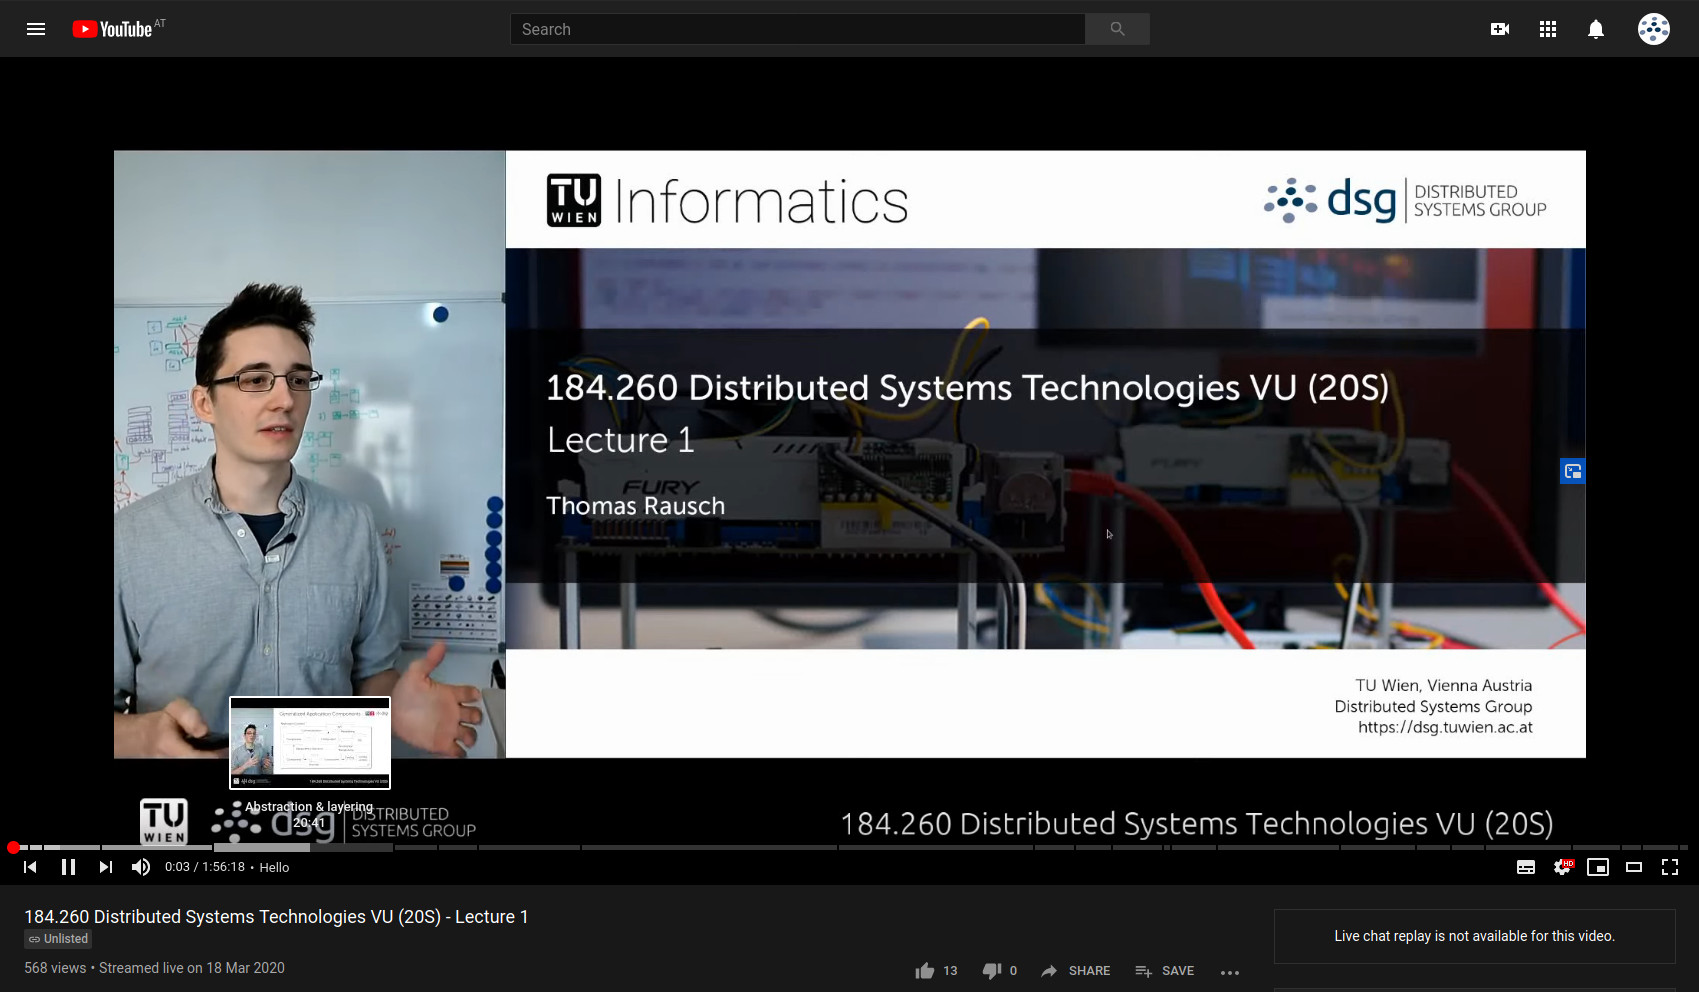
My streams as well as the recordings were “unlisted”, meaning you can access them with the link, but they cannot be accessed via the YouTube search or video suggestions.
Editing
I didn’t edit much, I only cut out the, short breaks, coughs, and rambling I sometimes tend to when I don’t have a script. The YouTube studio editor is absolutely sufficient for that. No editing software needed. It takes an hour or so after you are down until the edited video appears.

Timestamps
Adding timestamps to the video description is a bit of effort, but they are very useful for viewers to navigate the recording!
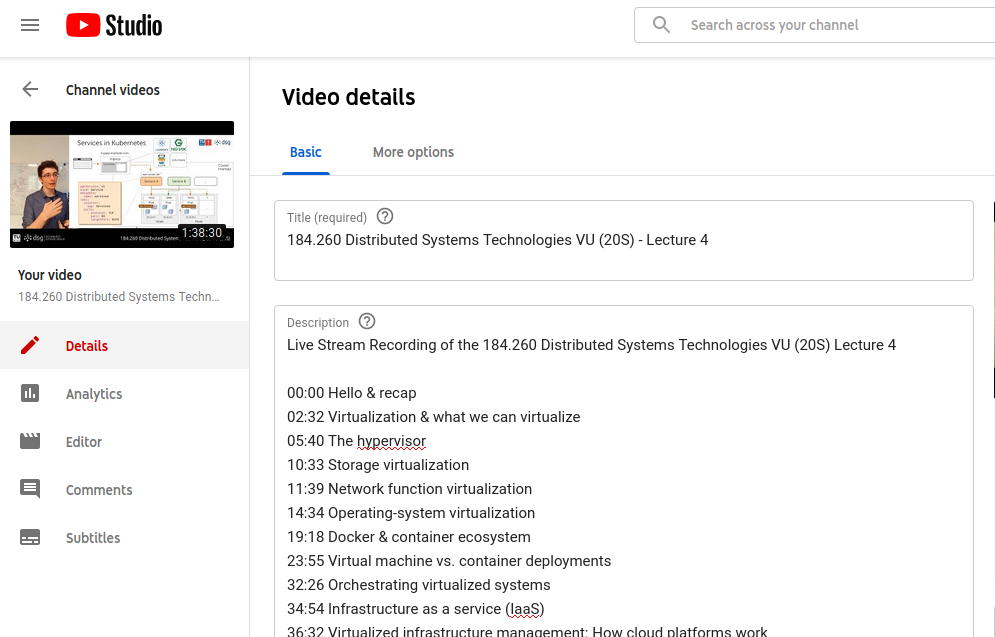
When they are in the video description with a bit of text, YouTube automatically creates chapters in the video progress bar.

Conclusion
Overall OBS and YouTube Live make it extremely easy to stream lectures and provide recordings. For audience participation, I used the live chat, but a lot of lecturers already make use of richer online participation tools.
By now many lecturers have to do online lectures in some way, and have found a concept that works for them. The key points that made the lectures work for me were:
- Giving a live lecture at scheduled dates and provide recordings, rather than pre-record the lecture. Pre-recording is hard, and live streams are more engaging for students.
- Standing while giving the lecture.
- Not using the built-in webcam/laptop microphone
- Making one pass through the recording to a) create timestamps, b) trim out unnecessary parts, c) reflect on my presentation of the content.